
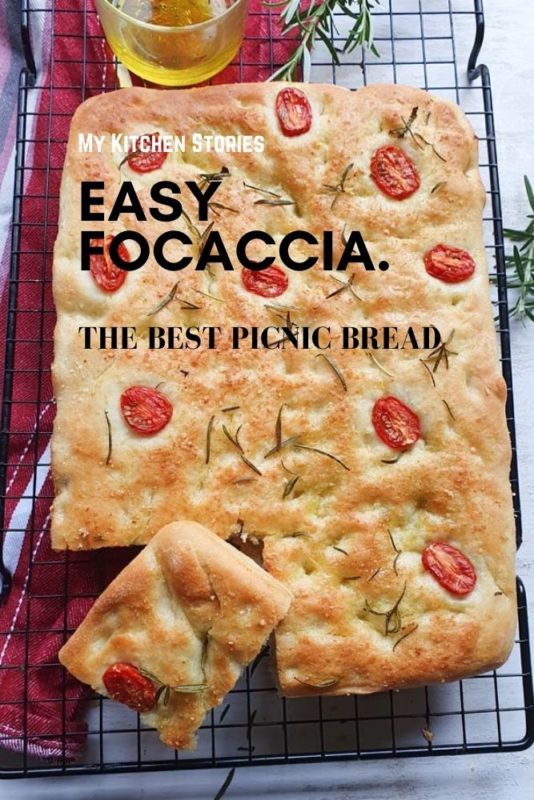
Focaccia easy bread great for picnics or snacks

Focaccia is one of the easiest styles of bread you can make at home and it makes super delicious picnic bread.
It takes so few ingredients to make bread. Yet, there are few things you can make that will give you as much joy as bread emerging from the oven. Yeasted bread is quite easy, there are just a couple of hints to follow. See them below.
How is focaccia different from bread?
Focaccia (pronounced fo-kah-cha) is a flatbread similar to pizza dough. It’s a classic Italian bread believed to have originated in Liguria in the north of Italy. It varies in thickness over different regions of Italy but, one thing for sure, it’s easy and delicious. Italians eat it all day long as panini (sandwiches) dipped into coffee in the morning, or wrapped and carried as a snack on the go.
How is focaccia different from pizza?
As a general rule focaccia tends to be a bit fluffier than pizza. It is bread with a light crust and a surface full of indentations that hold oil. Focaccia has a lot less topping than pizza and is most often eaten a room temperature, although of course rules are made to be broken.
Although the ingredients in focaccia and pizza are very similar, focaccia generally has more yeast. This explains the reason for its extra fluffy texture. It has to be said also that good pizza dough is long slow and cold fermented, giving it a chewy less bready texture. Although focaccia can be slow fermented I like to make it quick as I can so I can start eating it warm. That’s the beauty of homemade bread.
Thick or thin Focaccia?
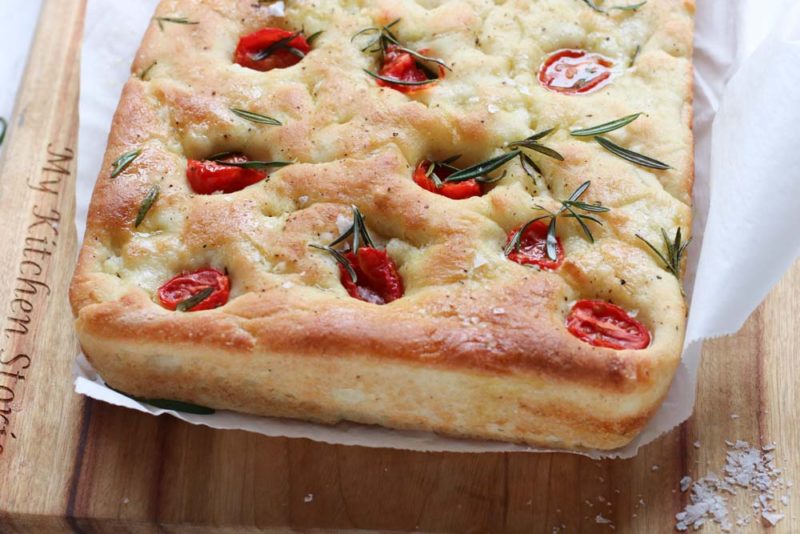
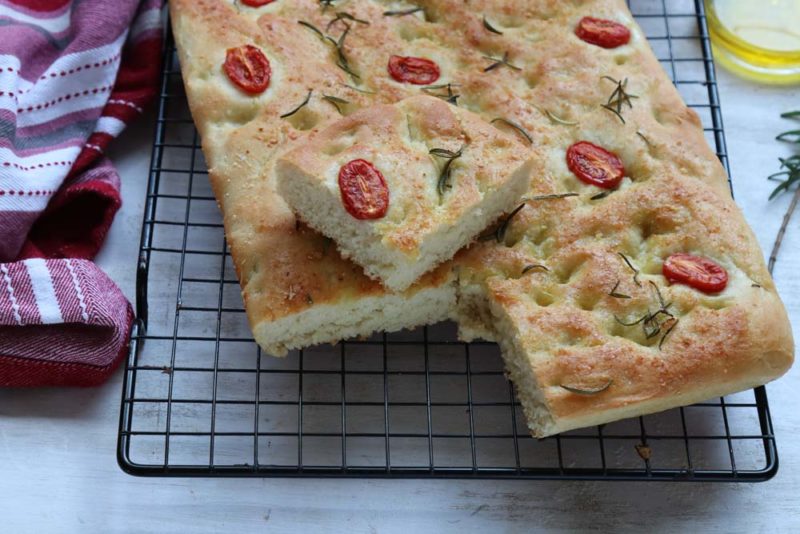
You will probably notice in the pictures that some of the focaccia I made are thick and some a little thinner. It’s up to you just how thick or thin you’d like to make your focaccia. I’ll include both tray sizes so you can decide how you want to make yours or what trays you have at your place.
Thinner focaccia makes for a great snack that you can pile with cheese and other ingredients and bake or grill, a bit like a pizza. Thicker fluffier focaccia can be used for sandwiches or just simply extra scooping and dipping of oil, dips, pesto, dukkah…oh I have to stop. I’m hungry now.
However you make your focaccia it is a quick and very simple bread. Whether you are a beginner at making bread or just can’t resist the smell and excitement of pulling fresh hot bread from your very own oven (forno), you will love this simple bread recipe. It really is a satisfying thing to bake. You can’t go too wrong here and it’s a throw into the picnic basket type of snack.
Making Focaccia
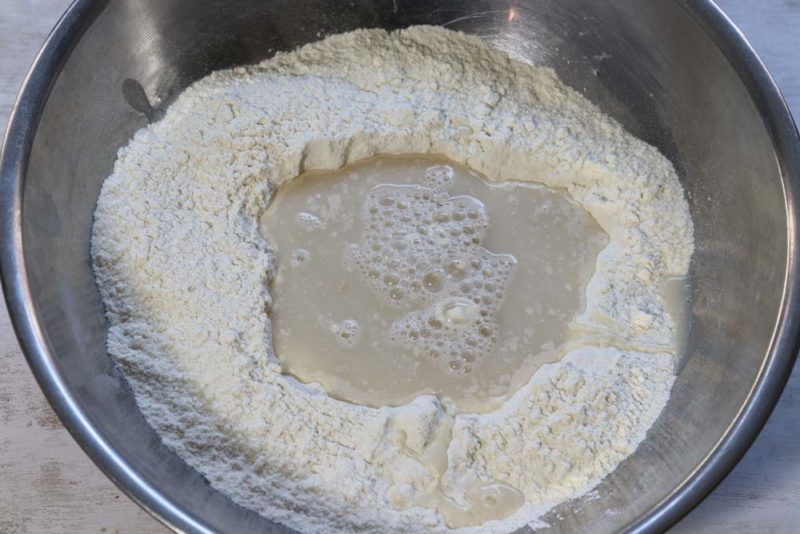
- You need to start with the dry ingredients. Make a well in the centre and add the yeast and luke warm water.
2. Mix it by hand. A nice sticky dough is the best. Tip it onto a bench and need until smooth and elastic with as little extra flour as possible.
A sticky dough will make a lighter fluffier bread. The key is to add very little flour when kneading. The best way to stop sticking is by putting a bit of flour on your hands only, and rubbing off the excess sticky dough back onto the bench with the main ball of dough, then continuing to knead. Use a bench scraper (or if that is unavailable use a fish slice) to unstick dough from the bench without adding flour

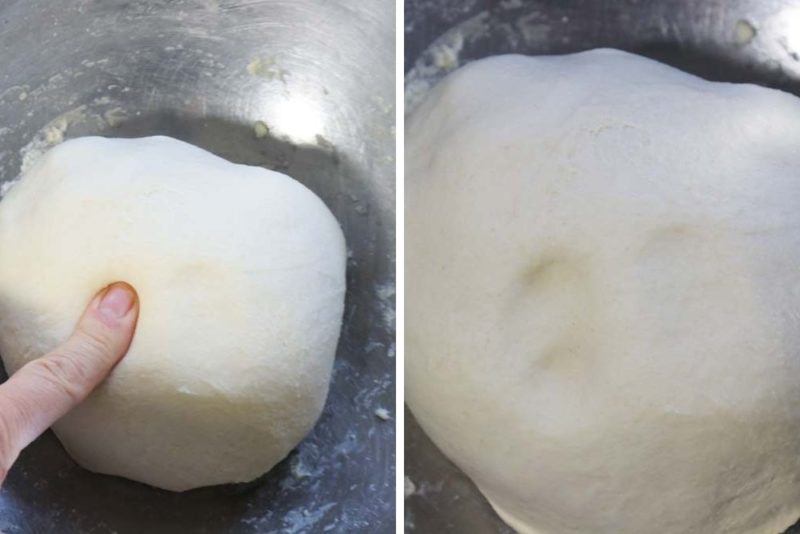
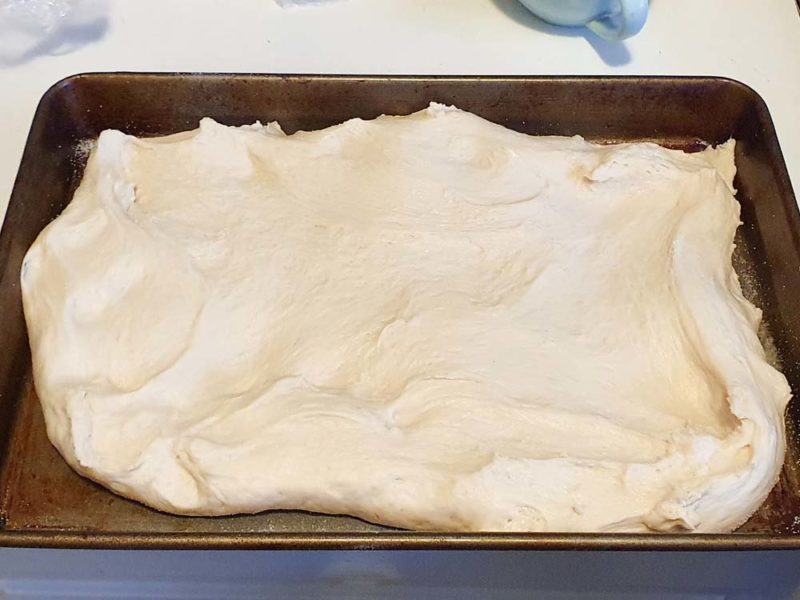
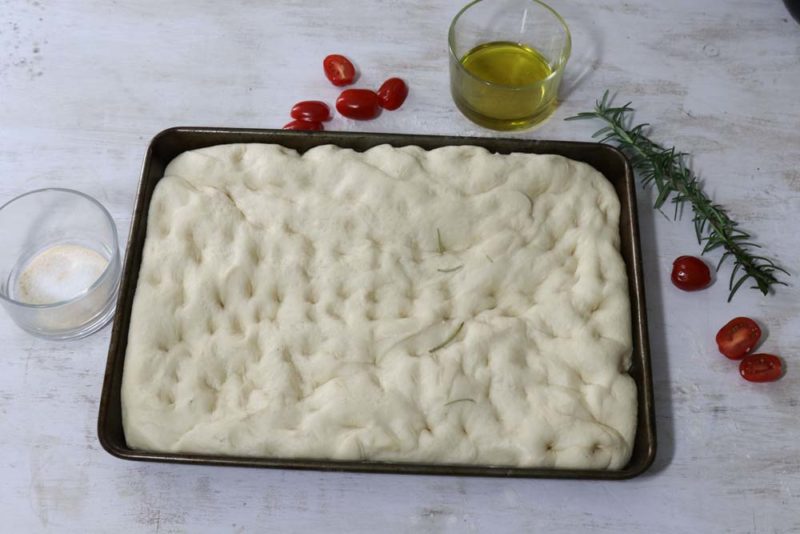
3. There will be two separate proving periods before baking. The first is a ball of dough that doubles in size and the second is when the dough is spread onto a tray to prove again.
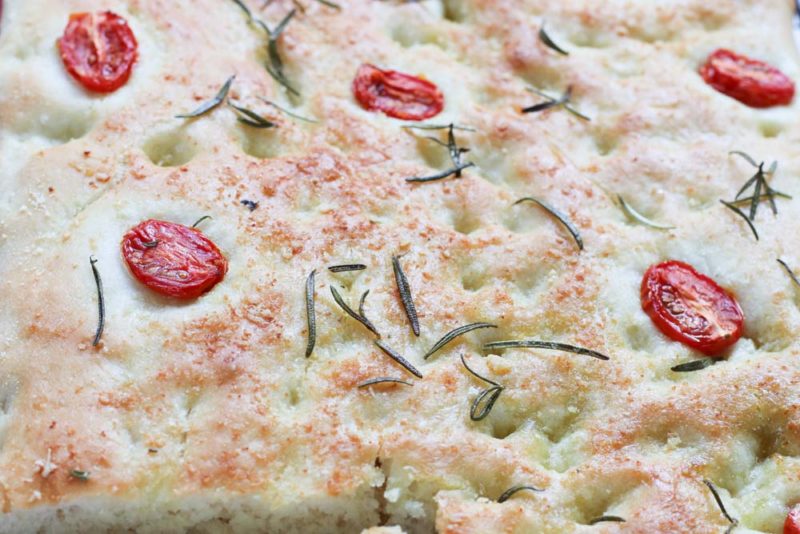
4. Once the focaccia is spread evenly put dipples into it. I call this piano fingers. Play the dough like you are playing the piano to make little indents all over
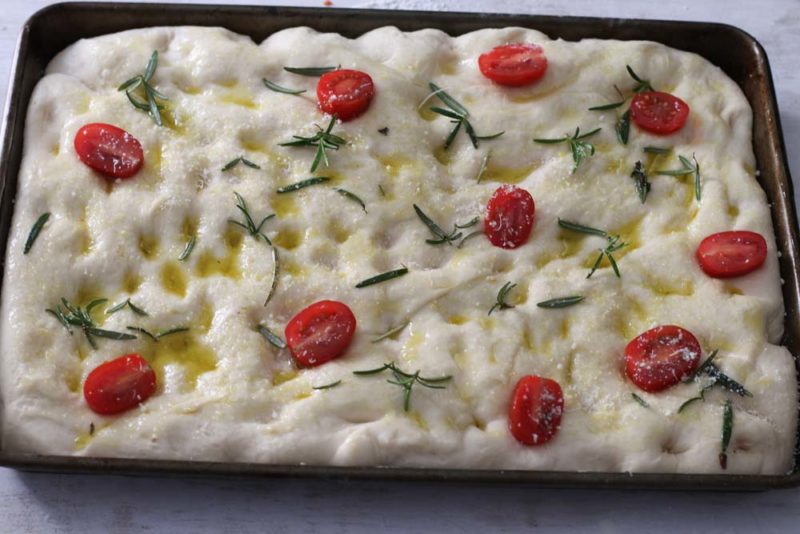
5. Once the dough looks puffy and the dimples look great. Now it’s ready you can add the olive oil, salt and any herbs you like. Get ready to bake an instant snack!
How To Keep It Fresh
Focaccia is at its best, eaten immediately. Nevertheless, it can be kept up to 2 days enclosed wrapped well. After day one the focaccia should be heated in the oven for a few minutes to refresh it. This makes it a little crispy too which is delicious! Baked focaccia can be frozen and then reheated after thawing.
Can I prove it overnight?
Yes, you can. Cover the ball of dough really well and keep it in a bowl or oiled plastic bag. Leave it in the refrigerator and it will prove slowly
When you are ready take it out of the fridge. Spread it on a tray and let t come to room temperature and finish the final prove. This will take up to an hour. Coat with oil, herbs, and olives or tomatoes and bake as before.
Why not try these fast bread recipes too!
Bread the easy way no starter no kneadng
No knead sweet potato bread
No knead brioche bread
Focaccia , easy bread great for picnics and snacks
A quick and easy home baked bread recipe that is both easy and great for snack
Ingredients
- 500 gm flour, plain or bread 3 1/2 cups | 17.6 oz
- 350 ml water, warm 1 1/2 cups minus 1 tablespoon |11.80fl oz
- 9 gm yeast, dried 3 teaspoons
- 5 gm salt 1 teaspoon
- 10 gm sugar 1 Tablespoon
Topping
- 60 ml olive oil 3 Tablespoons
- 2 sprigs rosemary
- 6 whole cherry tomatoes or olives
- 5 gm salt
- 2 cloves garlic
Instructions
-
Set the oven to 18O C or 350 F. You will need a tray 30cm x 23cm / 9x 12in. Fopr a thicker focaccia. Or a larger thiner style tray size 35x25cm / 13 x 10 in.This dough can very easily be made by hand, but if you have a stand mixer attach the dough hook and incorporate all the ingredients as below.
-
Mix the yeast, sugar and warm water together and set this aside. The mixture should start to froth a little or at least start to dissolve
-
Mix the flour and salt together
-
Make a well in the centre of the flour and pour all of the water in at once. Slowly incorporate the dry ingredients with the yeast water stirring with your hand until you have a wet shaggy dough.
-
Turn the dough onto the bench and knead until you have a soft elastic dough. This will take up to 10 minutes of kneading. (If you have it in a machine knead till soft and smooth). Don’t add lots of extra flour when kneading. If the dough is sticky add flour to your hands and rub them together to get rid of the sticky bits on your hands. Rub over the sticky dough on the bench and this will add a bit of flour and get all the sticky bits off your hands Use a bench scraper to move the dough from the bench if you have one. If not use a palette knife or fish slice. Adding lots of extra flour makes the bread dry
-
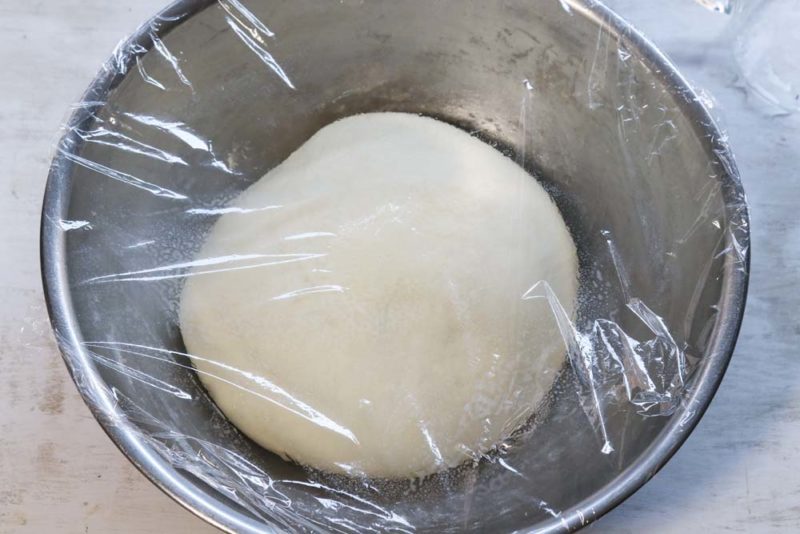
Now the dough is ready to go into a greased bowl and cover with greased cling wrap. Set aside for up to an hour to double in size. I like to use spray and cook, and never add extra oil when proving. It makes the dough slippery and hard to handle when putting into the tin.
-
Put the covered dough into a warm place. The dough will take about 30 minutes to an hour to double in size depending on the warmth of the environment or the freshness of the yeast. Once the dough has doubled in size put it onto the tray and push it out to the corners. You could also put it onto the bench and roll out with a rolling pin. Once it is even and flat put finger indents all over it. Cover the tray in greased cling film and set aside somewhere warm
-
The dough will take around 30 minutes or so to prove. It should look puffy and risen up the sides of the tray. It is important to not leave the dough for too long to prove. Risen but not too puffy (see below)
-
Mix the olive oil and the salt together and garlic slices if you want to use those. Smooth the dough gently with the oil mix to coat. Its ok if the indents get little pools of oil. Stud with halved cherry tomatoes and sprigs of rosemary or olives
-
Put the bread into the oven and bake until golden. This will take around 15- 20 minutes. Check under neath to make sure the bread is cooked and coloured nicely.
-
Once the bread is out of the oven slide it onto a rack to cool a bit.
Notes
What is “proving” the dough. Whenever a “yeasted” dough is made it needs to be proved. The ideal environmental temperature for proving is a warm area at around 24 C.
Once the yeast is added to other ingredients it becomes active. As the yeast becomes active it releases carbon dioxide, and this creates air pockets that stretch the dough activating the gluten helping to puff up the dough
The process of proving and forming carbon dioxide is called fermentation. The first step is blooming the yeast to start this process off. Once the dough is made the first prove is generally called bulk fermentation.
The dough is then shaped (some people call this knocking back but it is best to not be overly rough with proved dough- You want to retain some of the air). Once shaped bread is left to ferment again. Then it is baked
You can over and under prove bread. Underproving creates bread that is flat and not very fluffy
Over proving can create bread that is lumpy and bumpy with an uneven crumb. This happens because the yeast starts to overgrow and the air escapes and causes collapsed bubbles. When baked the bread doesn’t rise properly as there are no air bubbles left inside
Yeast and salt do not like each other. You must always add the salt to the flour so it is dispersed through the flour.
Why add salt to bread then? Yes if salt kills yeast why add so much? Bread without salt is like cake without sugar, quite tasteless. The thing is though, it not only seasons the dough but it also controls the yeast. Without that bit of salt the yeast would grow too fast and get too puffy and collapse onto it self in an overworked heap.
Yeast is most often left to bloom with water and sugar. Sugar helps the yeast to grow and ferment where direct contact with salt kills yeast.
Why cover proving bread with cling wrap?
The cling wrap keeps the warmth in the proving dough. Always use a cooking spray when you grease the bowl and the cling wrap to cover your proving bread. Using a greased cling wrap will stop the bread from sticking to the plastic when rising.
I don’t like to use a lot of oil when proving as it makes the dough slippery and sticky. Just a quick shot of oil spray will do the trick


